
 Pq
794d0bcc03
修改dev环境
Pq
794d0bcc03
修改dev环境
|
2 лет назад | |
|---|---|---|
| .. | ||
| tuicallkit | 2 лет назад | |
| tuicallkit-kt | 2 лет назад | |
| .gitignore | 2 лет назад | |
| README.en.md | 2 лет назад | |
| README.md | 2 лет назад | |
README.en.md
Quick Run of TUICalling Demo for Android
中文 | English
This document describes how to quickly run the TUICalling demo project to make a high-quality audio/video call. For more information on the TUICalling component connection process, see Integrating TUICalling (Android).
Directory Structure
TUICalling
├─ app          // Main panel, which is the entry of the audio/video call scenario
├─ debug        // Debugging code
└─ tuicalling   // Real-time audio/video call business logic
Environment Requirements
- Compatibility with Android 4.2 (SDK API Level 17) or above is required. Android 5.0 (SDK API Level 21) or above is recommended
- Android Studio 3.5 or above
Demo Run Example
Step 1. Create a TRTC application
- Go to the Application management page in the TRTC console, select Create Application, enter an application name such as
TUIKitDemo, and click Confirm. - Click Application Information on the right of the application as shown below:

- On the application information page, note down the
SDKAppIDand key as shown below: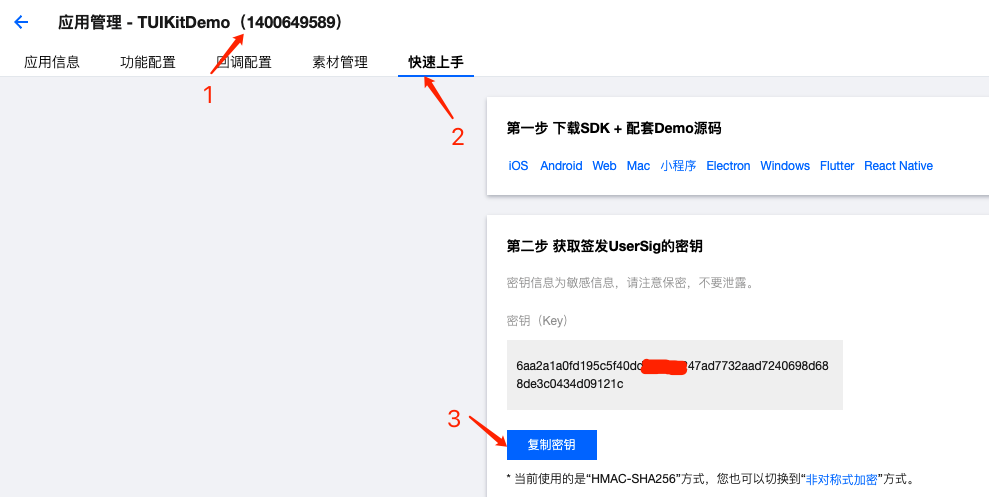
! This feature uses two basic PaaS services of Tencent Cloud: TRTC and IM. When you activate TRTC, IM will be activated automatically. IM is a value-added service. See Pricing for its billing details.
[](id:ui.step2)
Step 2. Download the source code and configure the project
- Clone or directly download the source code in the repository. Feel free to star our project if you like it.
- Find and open the
Android/debug/src/main/java/com/tencent/liteav/debug/GenerateTestUserSig.javafile. - Set parameters in
GenerateTestUserSig.java: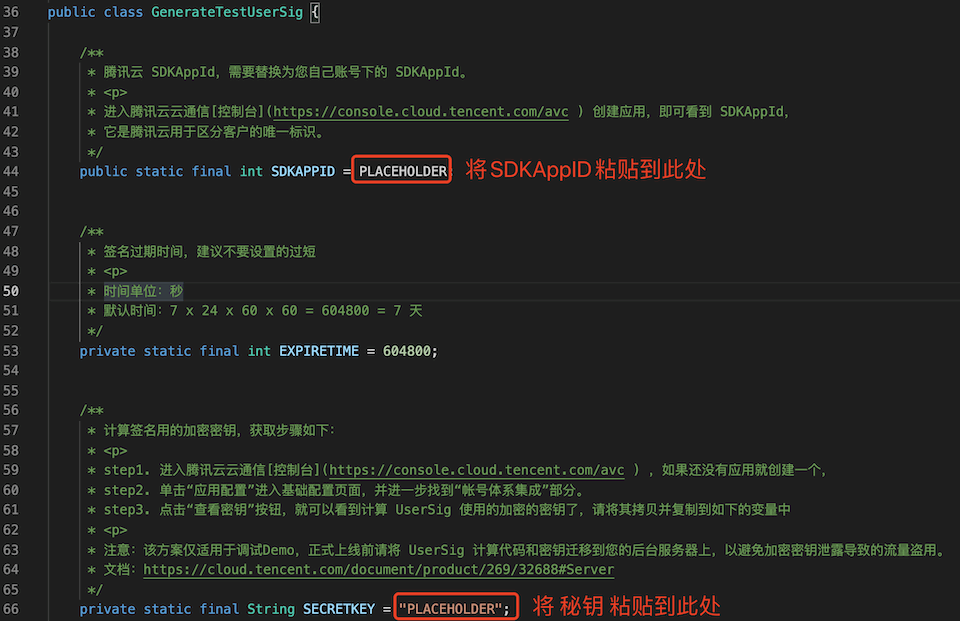
- SDKAPPID: A placeholder by default. Set it to the
SDKAppIDthat you noted down in step 1. - SECRETKEY: A placeholder by default. Set it to the key information that you noted down in step 1.
- SDKAPPID: A placeholder by default. Set it to the
Step 3. Compile and run the application
Open the source code directory TUICalling/Android in Android Studio, wait for the Android Studio project to be synced, connect to a real device, and then click Run to try out the application.
Step 4. Try out the demo
Note: You need to prepare at least two devices to try out the call feature of TUICalling. Here, users A and B represent two different devices:
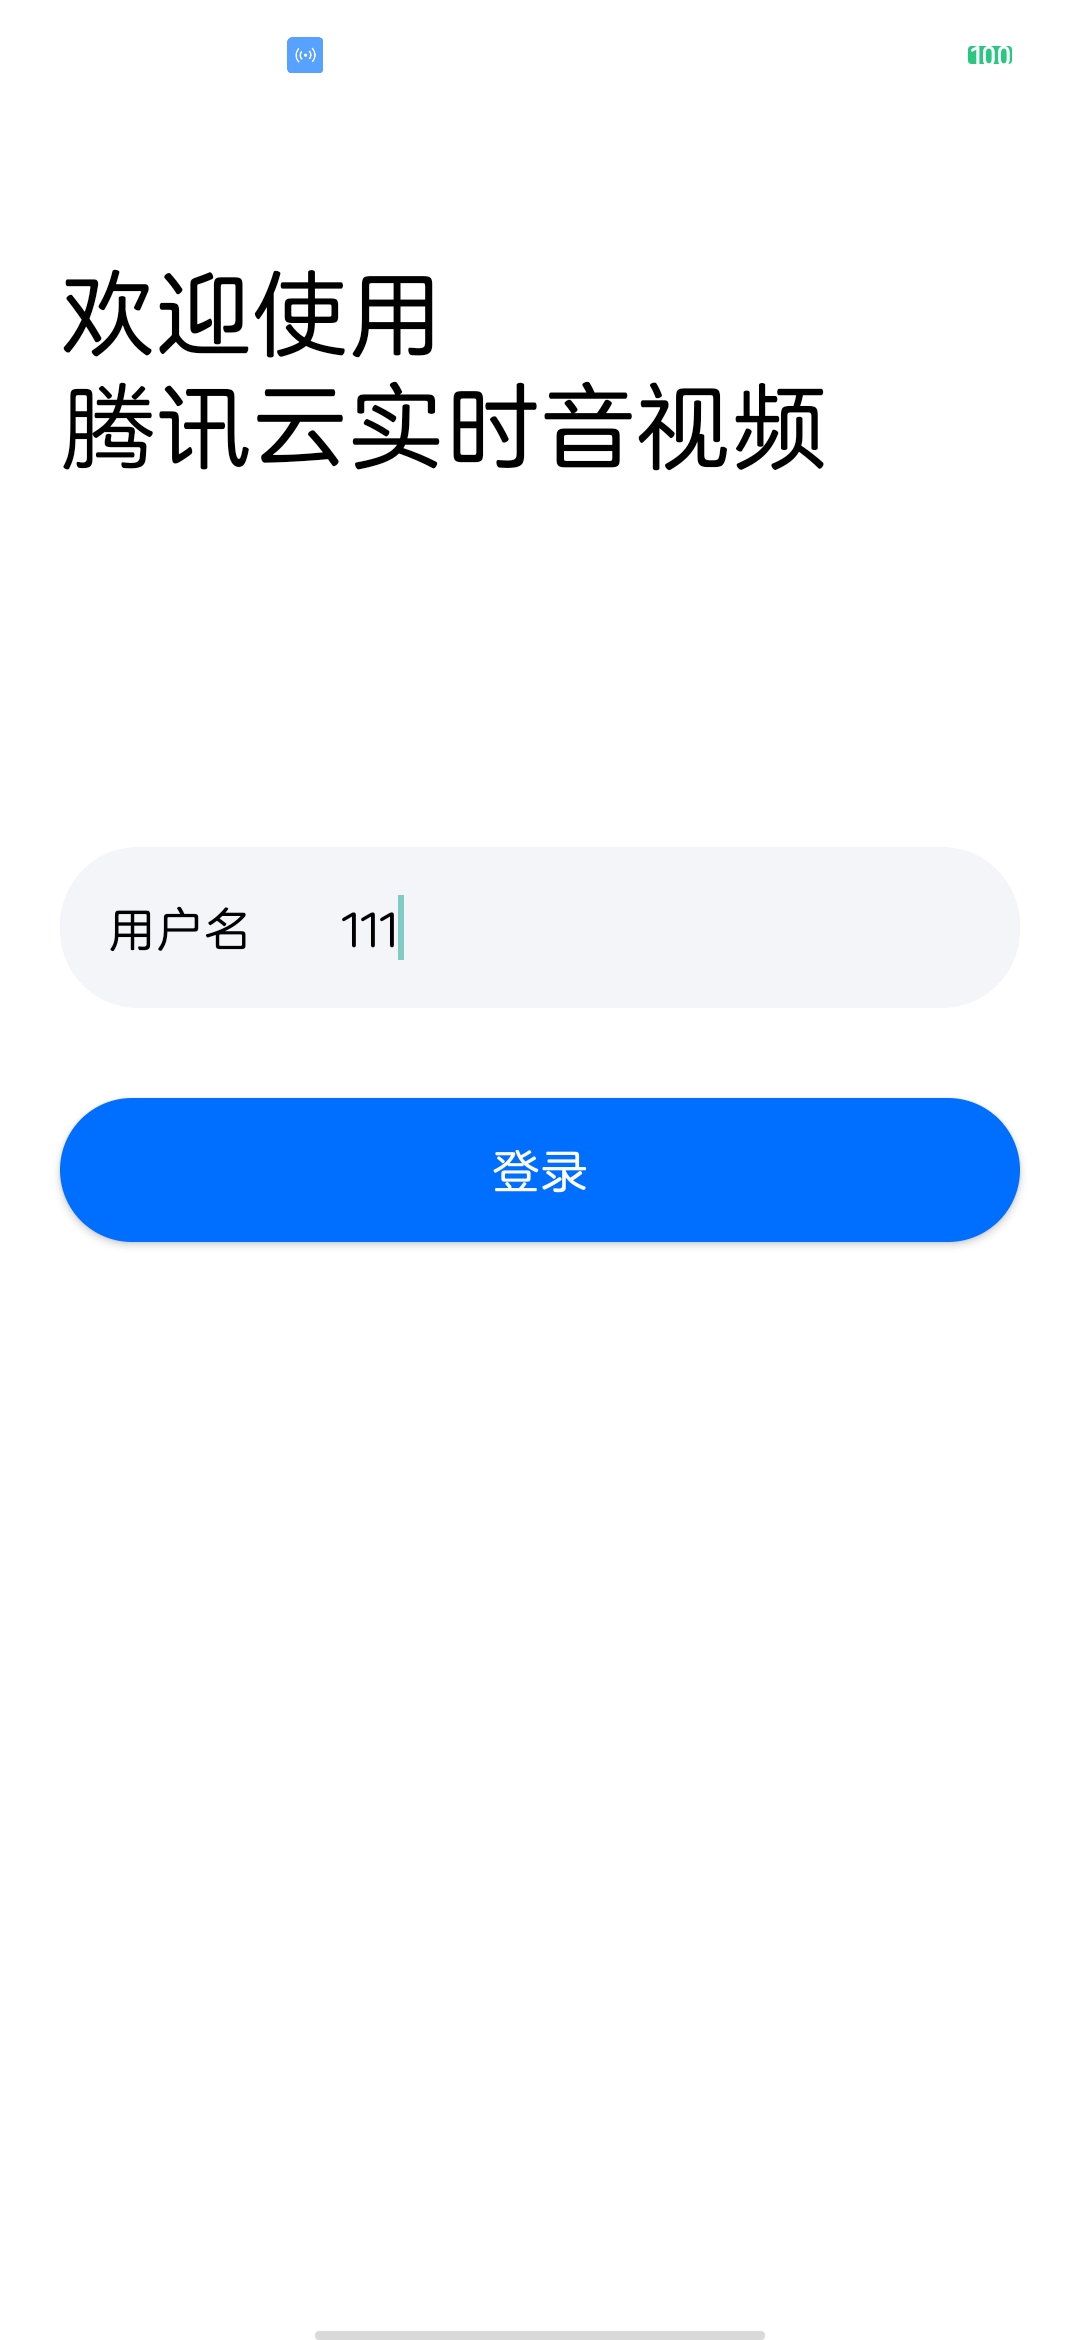
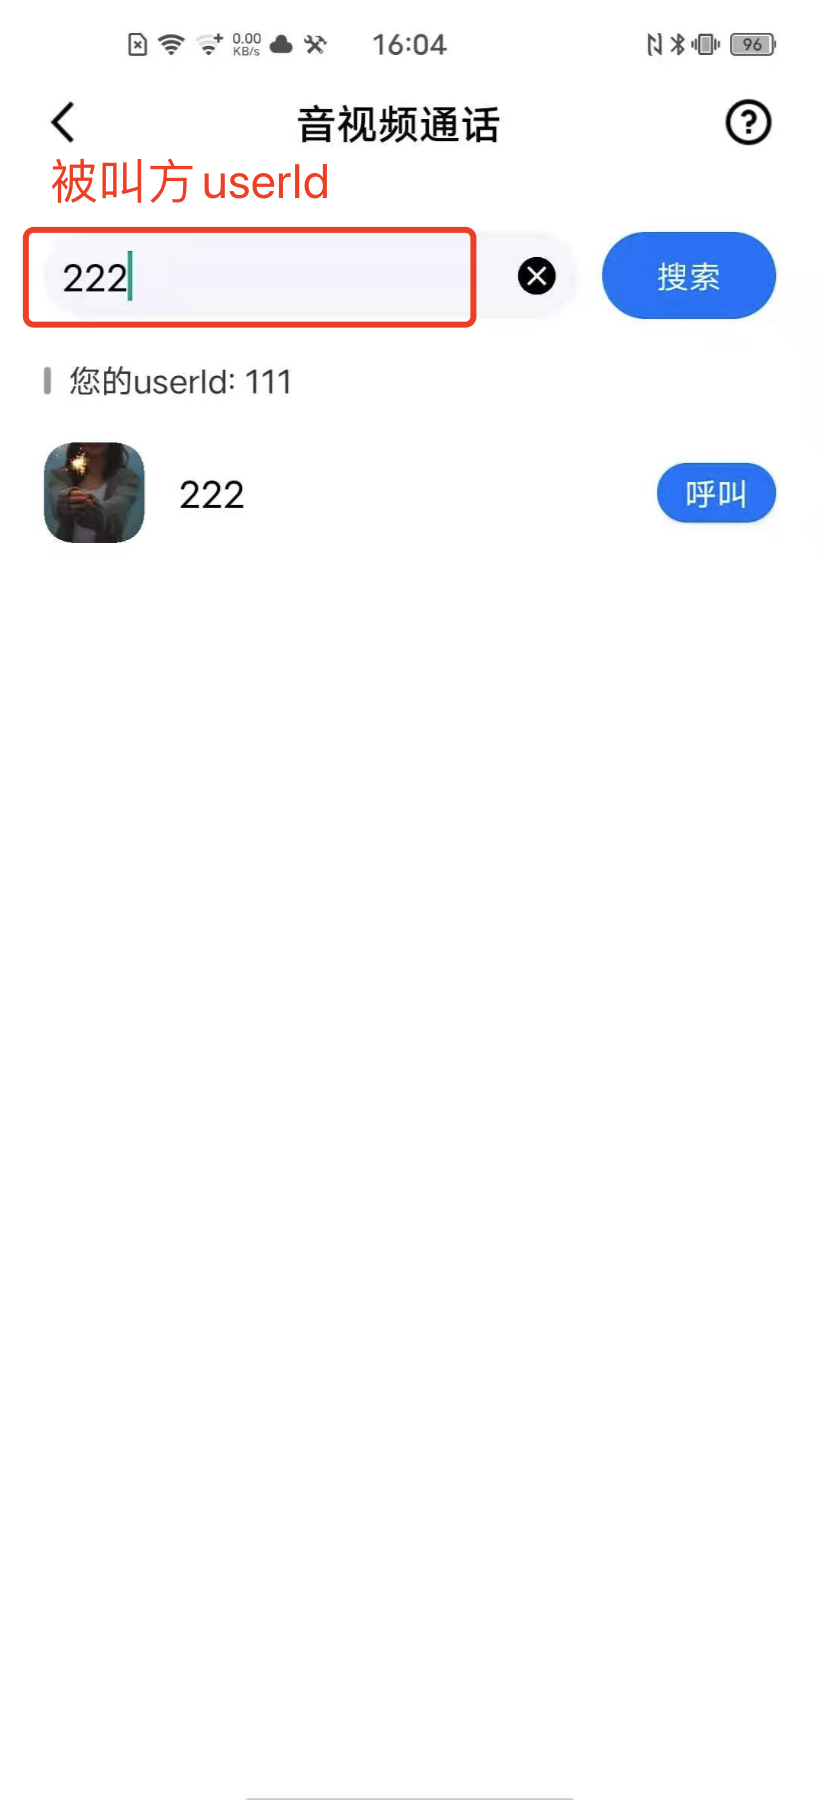
Device A (userId: 111)
Step 1: On the welcome page, enter the username (which must be unique), such as
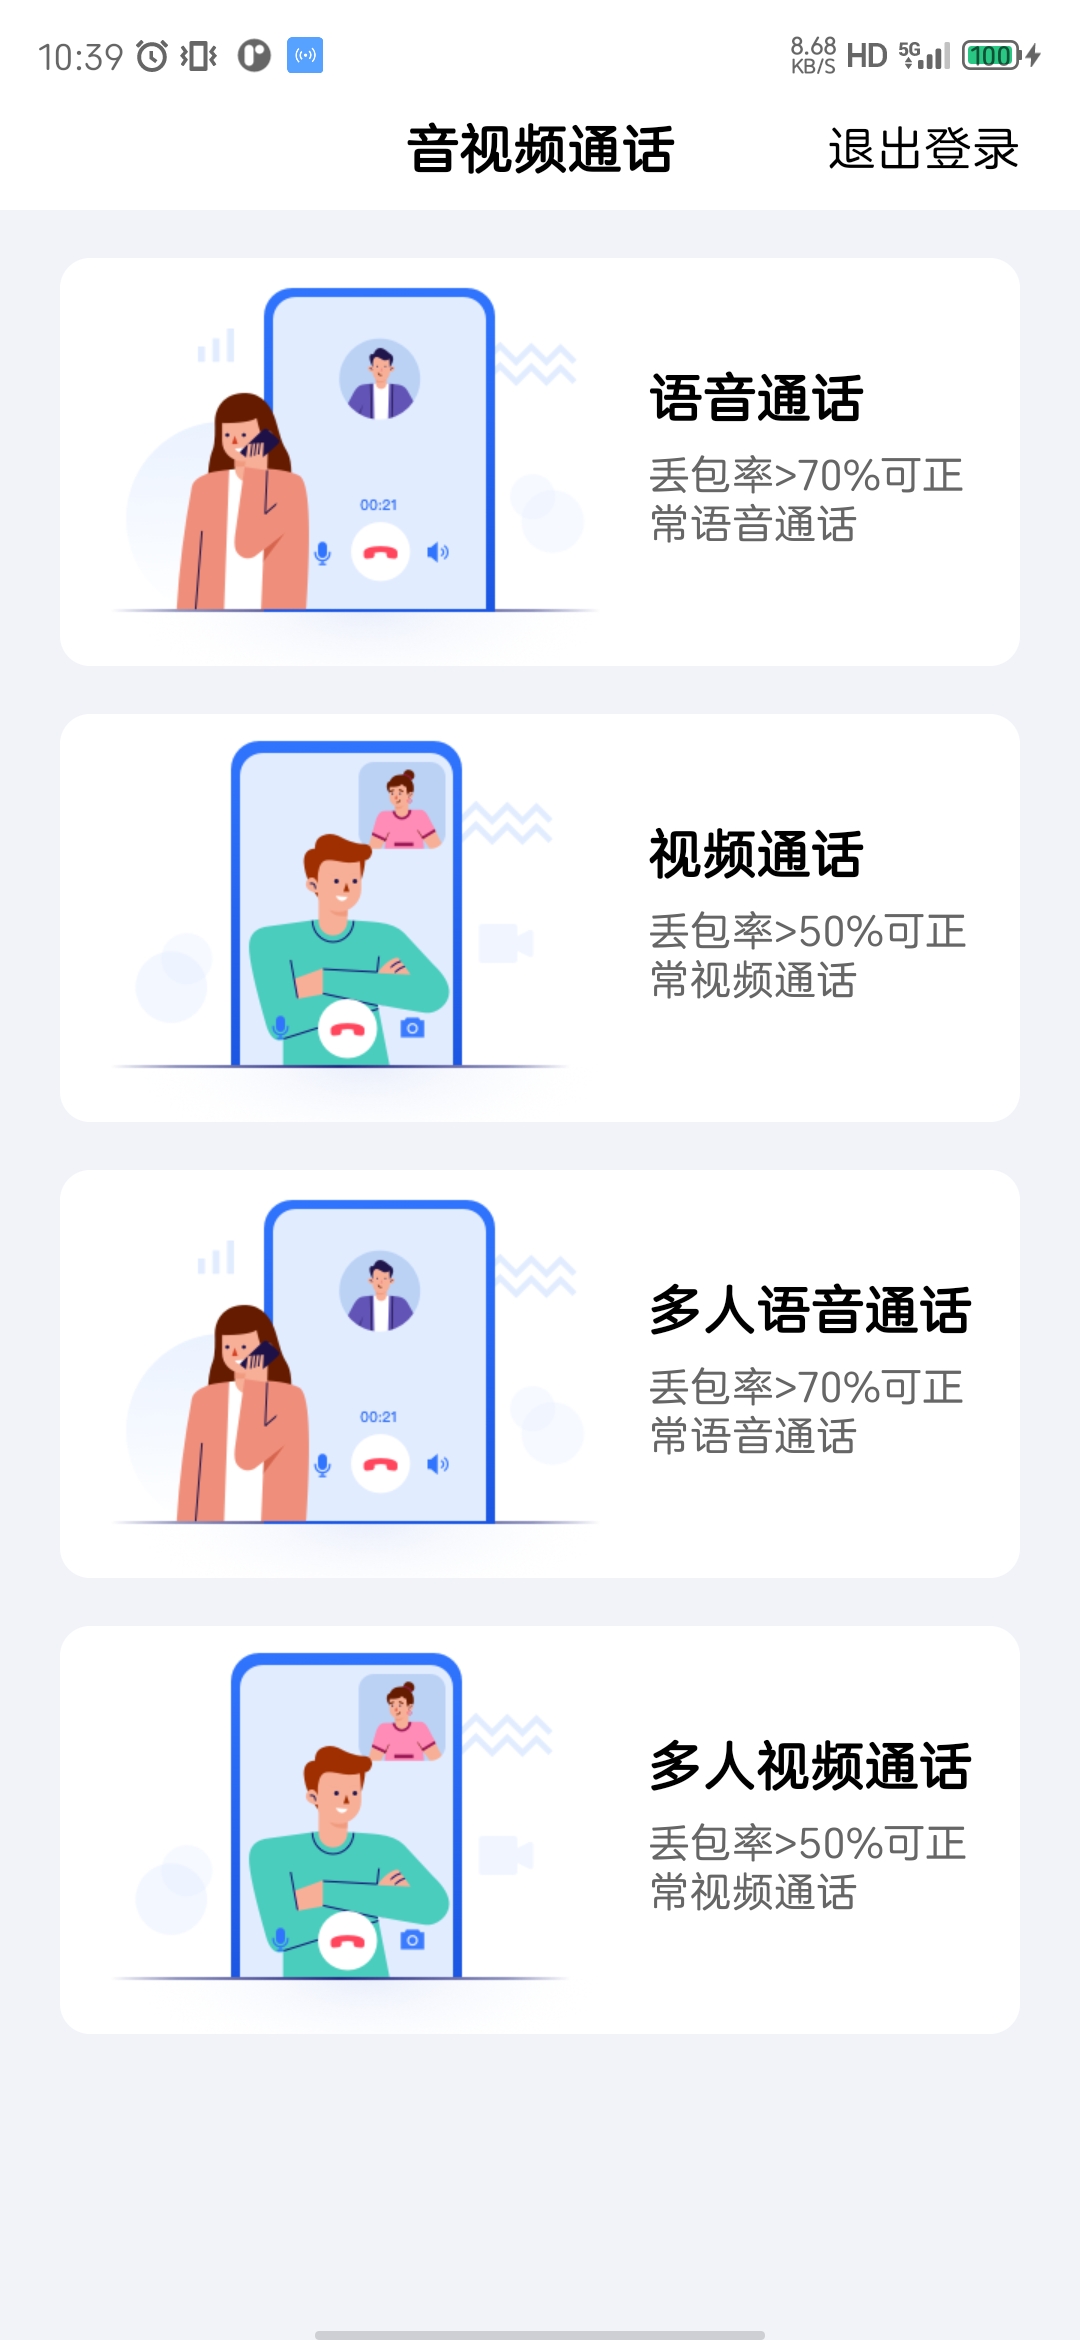
111.Step 2: Go to the different scenario pages, such as video call, based on your scenario and requirements.
Step 3: Enter
userIdof user B to be called, click Search, and then click Call.
| Step 1 | Step 2 | Step 3 |
|---------|---------|---------|
| |
| |
|
Device B (userId: 222)
- Step 1: On the welcome page, enter the username (which must be unique), such as
222. - Step 2: Enter the homepage and wait for the call.
FAQs
- FAQs About TUI Scenario-Specific Solution
- If you have any questions or feedback, feel free to contact us.